Sunday, July 14, 2013

Pop Rocks and GIANT Pixie sticks

Girls just having fun!

So there's this candy store called It'SUGAR
http://www.itsugar.com/ and they have giant candy, amazing! 

Any how, we went on found yummy pop rocks (regular size...bummer I know) and made ourslves giant pixie stick...mixed flavors of course...and the sour faces to go with them !!!


Resolve Pre-Treat

So I wear those 'nude' colored bras to avoid the "I see your bra through that thin ass shirt" syndrome, and they seemed to be getting dingy, so first thought was ok I'll bleach them that gets rid of everything.....NOPE....I was very wrong all I got was a bleach scented bra...great...


So I did some asking around and heard good things about Resolve, gave it a shot and this is what I got.


1st all I did was spray one side of the band to truly see the difference it would or wouldn't make. I was very surprised at the almost instant change ----->
*AMAZING!* (Bleach didn't even get rid of this stuff?!?!)


So I continued on by laying the bra in the tub, spray Resolve, rub it in a bit, and let sit for 5 minutes and tadah! A bra that looks (half) BRAND SPANKIN NEW!!! whoop whoop!!


This stuff works great on dirty, greasy boy clothes too!! I use it on my honey's work shirt that gets all kinds of boy dirt on it :)


Saturday, September 8, 2012

Receipt Catcher


 Hate having receipts all over the place and floating around in your purse?? Me too!! So I had this idea to re-purpose an empty trash bag box into a receipt catcher until I was able to go through them. Cause I don't know many people out there that can go through their receipts every time they make a purchase...


So I started with an old small box (ziploc sandwich bag boxes are pretty much the same size as what I used) and it looked like so ---->

1. I covered the front opening with card board a couple staples  since I covered it with pretty paper. You can see a bit of the cardboard covering where the front opening was in the picture below.
2. After reinforcing and covering any unwanted openings begin covering the larger areas of the box with desired paper (or fabric) and your choice of adhesive. I advise starting with bottom and working towards the back and up over the top last.
3.  Cut the edges along the corners so you can fold them down on the sides.
4. Now cut paper to cover the sides so that it covers the folds from the last step.

5. Carefully cut, fold under and glue the top opening.

6. The front of the receipt catcher I used contrasting paper that was part of the other design.

7. I also printed out a journal accent to make my label for my receipt catcher. 

Saturday, September 1, 2012

Forever Flowers

Being the girls that we are we LOVE flowers! Duh what girl doesn't! but highly dislike when they die :( :(
So we went to Hobby Lobby (kinda like Michael's but a little different) and found some beautiful flowers that happen to be on sale (lucky us we know) and also some blue and clear marbles for the vases to mimic water.


 Reesie's flower bouquet was gorgeous, tall vase, small white flowers with purple & pink roses!

 Babs opted for more greenery, than baby's breath effect.  Babs made a small bouquet for the office and the remaining bundles she arranged for the dinning room table for a larger affect.


  Either way this is a simple and cost effective way to add elegance and beauty to any space.


Purple Ombre Cupcakes

Reesie loves the color Purple, so for her birthday I decided to take some pinterest inspired cake
And transform the idea into cupcakes, since we were going out to a movie this was easier to tote around than a full fledged cake. Not exactly a "NAILED IT" but hell it worked and she LOVED it :D


Fun Craft Apron

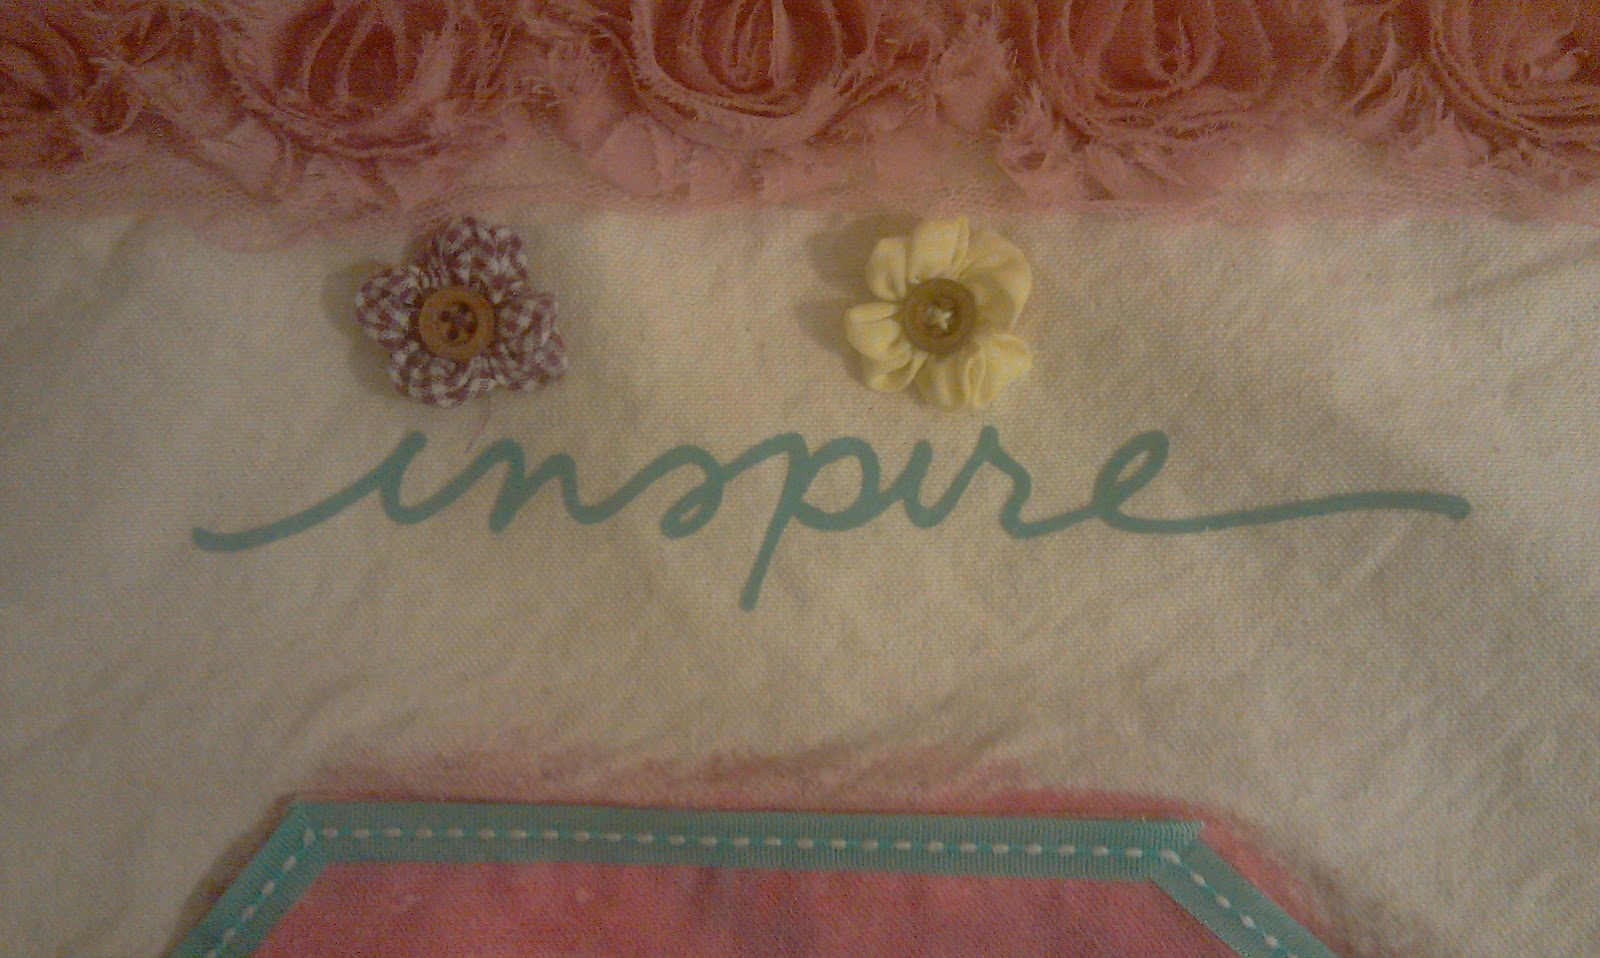
Went to one of my favorite Scrapbook stores (Scrapbook Barn) in Chandler, AZ and saw this fun idea for an apron....

After a long debate with myself I decided that I was going to buy the apron and an assortment of goodies to put on, some were similar to the inspiration but I did want to have my own touch to it. 

I started by sewing on the additional ruffles behind and in front of the ruffles at the bottom of the apron:
At this time I also added the fabric flowers, and painted the large pocket. Painting the pocket does make the pocket a bit stiffer than normal, so be cautious if you want to do as I did.

Here's the Finished project:


Sunday, April 22, 2012

DIY Large Checkbook

I know a lot of people now days mainly use Excel or Expense Programs but I still like tangible, non-computer versions of my finances. SO using a CHEAP note book, format of a bank checkbook, ruler and colored pens you too can create a large longer lasting checkbook for about $1

OK Lets make it!

First I added the Date lines, this is good so you don't have to look through the whole thing to find when it was started and ended when referencing finances.

I then glued a blank sheet on the inside cover to cover all the text that was there since it is no use to me.
Also since an 8 1/2 x 11 sheet of paper is a bit larger than this note book I just trimmed the edges to fit it. 

Now the actual pages I lined and formatted using the standard checkbook you would receive from your Bank.
Starting from the left I labeled the sections as follows:
1. Check # or Code (Like DC for Debit Card)
2. Date (I use the actual transaction date, the date on my receipts)
3. Transaction Description (Purchases, Bills, or Paychecks)
4. Payment (For purchases or Bills paid)
5. Deposit (For any paychecks or money received and deposited)
6. Balance (I leave an extra spot for the balance from the previous page in case a page goes missing )
 ***** I use red pen for "Payments" because standard accounting shows that the transaction is a negative transaction in my account. This is why I use green pen for "Deposits" as it shows a positive transaction in my account.


I printed a list of all my transaction descriptions and pasted them on the inside cover for easy reference.